The Skin Modifier Part 1
by Psyk0VIDEO TUTORIAL AVAILABLE
(not related to jedi academy)
Now the fun part of the exporting process begins, after a couple exported models (my 3rd was the easiest) you'll know what to do from the start. If this is the first time it wont be that easy, because after all you have never done anything like this. I had i little bit of practice with character studio, unlike the skin modifier, character studio does a pretty good job of weithing everything fairly well by a simple click!, (if you have positioned your skeleton right) all you have to do is go back and fix the verts that dont deform well. Enough about character studio, you are here for the skin modifier right?...good, lets' begin!
What is the skin modifier?
Quote from 3D Max's user reference:
"The skin modifier is a skeletal deformation tool. It allows you to deform one object with another object. Mesh, patch, or NURBS objects can be deformed by 3ds max bones, splines, or even another object.After applying the skin modifier and assigning bones, each bone has a capsule-shaped "envelope." Vertices within these envelopes move with the bones. Where envelopes overlap, vertex motion is a blend between the envelopes."
I couldnt have said it better myself...
How to use it
Assuming your model is positioned around the skeleton/segmented/capped-(or not) and uvw mapped, you are now ready to attach the mesh to the skeleton.
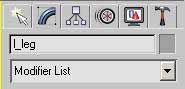
NOTE: I'm not gonna tell you how to weight every sets of verts or every mesh one by one. Just a short example should be enough.The weighting process is simple. First you select the mesh that needs to be deformed. Let's start with the left leg, select the "l_leg" mesh, go to the Modifier Panel, click on "modifier list" and scroll down to the "Animation Modifiers" section (or press "s" until you reach the skin modifier).
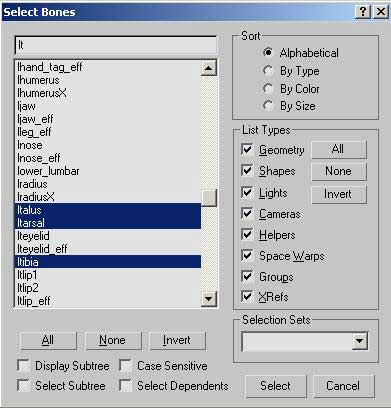
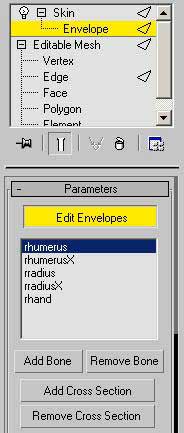
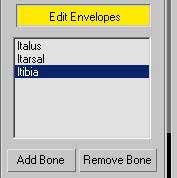
The next step is to add the bones that will deform the mesh. If it's not already selected, go ahead and click on the skin modifier, next click the add bone button. The bone selection window will popup, select the bones from the list. The bones that deform the left leg mesh are "ltarsal", "ltalus" and "ltibia", type "lt" in the type-in selection box, you'll quickly see the bones you are looking for so just select those
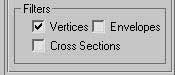
Before we go any further, i recommend turning off envelopes and cross sections filters...click "edit envelopes", then scroll down the skin modifier's parameters and go to the filters section make sure that only the "vertices" box is checked.
Ok so what does that do? with only vertices activated, you will have to select your vertices manually instead of using the envelopes.
I hate envelopes for the simple fact that i dont have full control on how i want the weights to be distributed...maybe that's not your case.
Back to the weighting, click "edit envelopes" if not already active, select the bone you wish to assign to the verts,
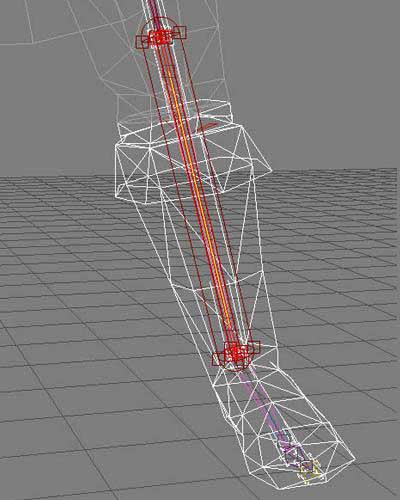
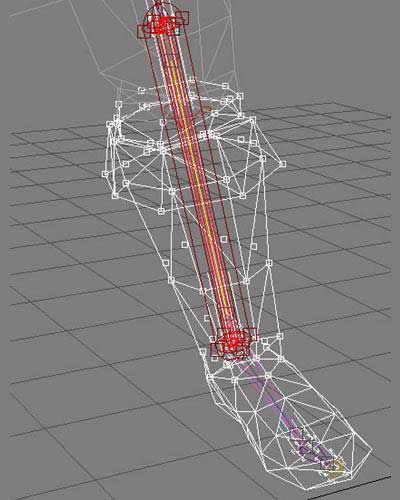
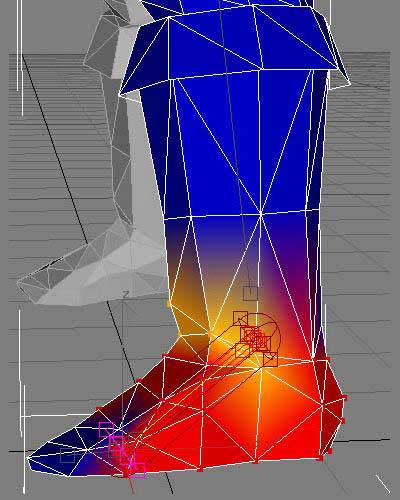
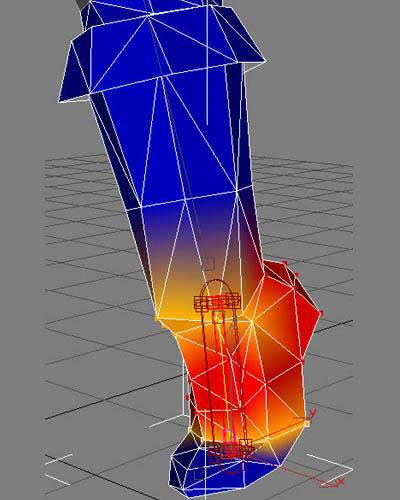
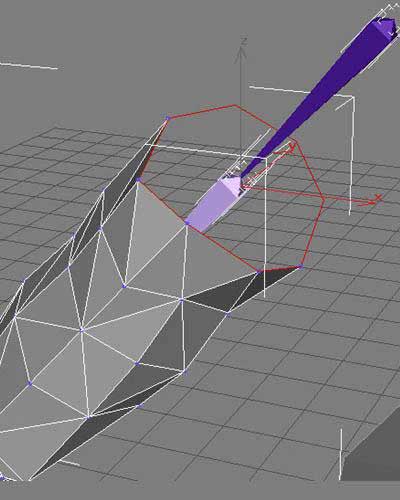
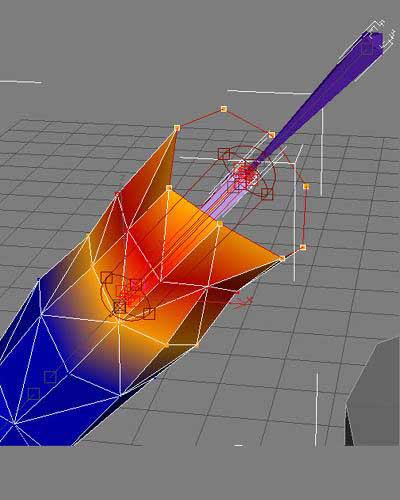
by clicking the bones one by one you will see which surface they can have influence on. Let's select the ltibia:
You should see something like the image below
The left tibia will deform the verts from the foot to the knee, i select the vertices that will receive deformation like this:
(With the "select and move" tool use ctrl-click to select verts without loosing previous selections)
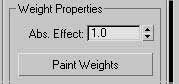
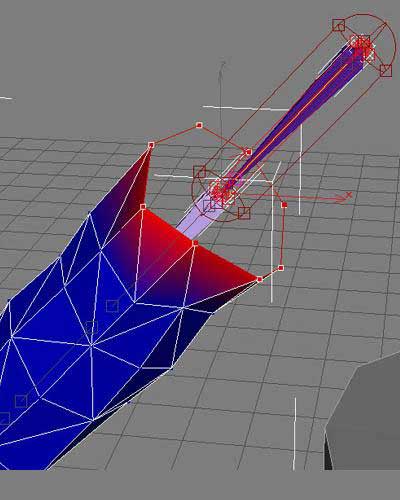
Next i go to the abs. effect box and type 1.0...
This means that 100% of the bone movement will control these vertices...the newly weighted vertices will turn to red meaning full influence.
NOTE: if your vertices stay white instead of changing color, you might have to click the "reset selected vertices" button under advanced parameters and re-type 1.0. Dunno if that's a bug but it happens sometimes.
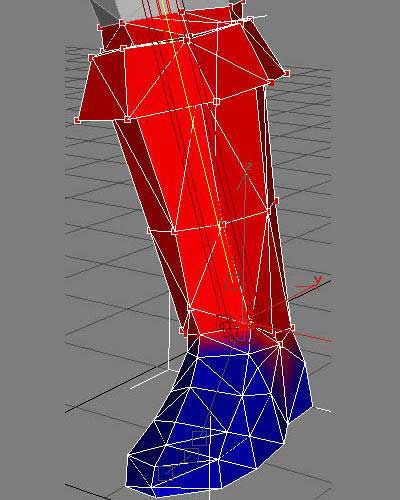
Now you can see that the tibia controls the red section of the mesh. The blue color means that no weight have been assigned yet or very little like 0.1. When you have half influence or 0.5 shared by two bones, the color is orange.
Since the tibia is linked to the talus bone, they both will share the weight right where they roughly meet.
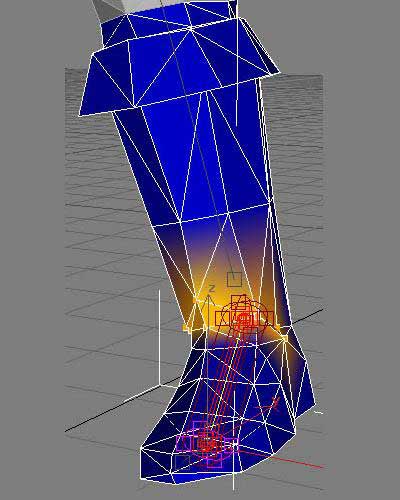
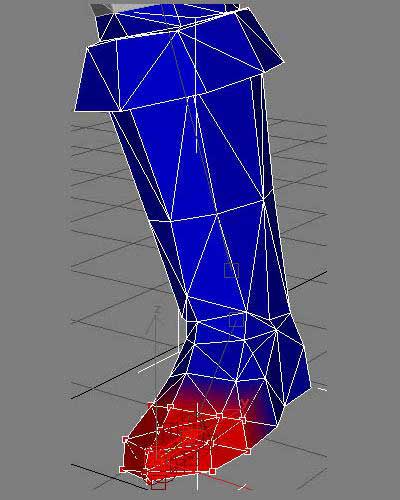
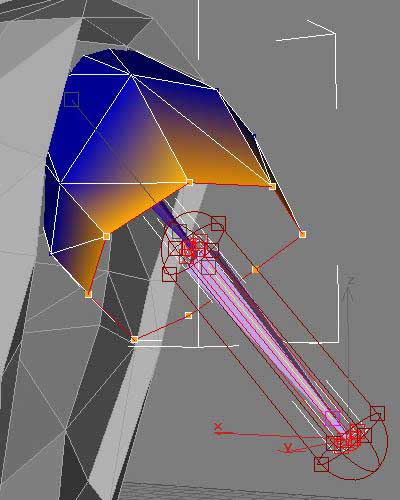
I select the talus bone from the list, deselect the top vertices because they already are fully weighted. I'm left with only the "joint" vertices between the foot and tibia like this:
For my mesh this is the best for deformation, yours is of course different, it's all about trial and error, once i start weighting with something other than 1.0 i rotate the bones along the XYZ axis to see how the mesh deforms and make the necessary adjustments when needed (add or remove verts).
Since those verts already had 1.0 influence from the tibia, i will type in 0.5 for the talus bone...i end up with this:
These verts are now equally weighted between the tibia and talus bone.
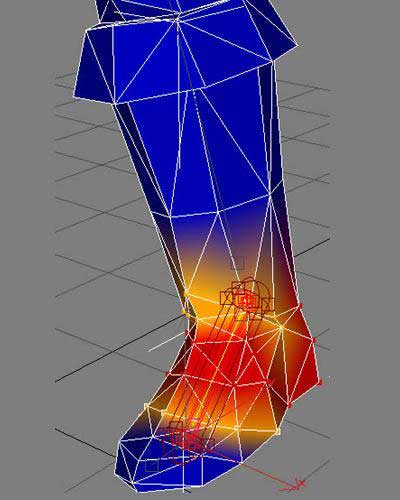
Since the talus controls the foot i selected those vertices next and added 1.0 influence:
The only part left: the toes, i selected the tarsal bone and added 1.0 influence on the previously unweighted verts.
Since the toes are supposed to bend, i will add 50% influence on the vertices that are meeting at the talus and tarsal bone. I unslected the tip of the toes and kept a set of verts to be weighted with 0.5 like this:
You can now easily point out where the joints are gonna bend...
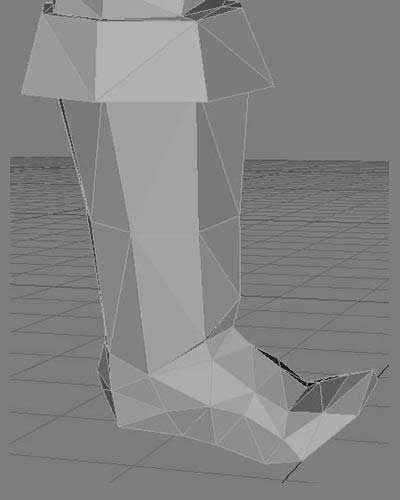
A simple rotation of the tarsal bone tells me that the weighting is correct for the toes:
And the ankle is also rotating nicely....
I've seen many people complaining about the lack of information on the skin modifier in Tim's tutorial, i didnt know much about it at first, but after a couple hours of trial and error i knew what to do.
The Skin Modifier Part 2
If you followed part one of this tutorial then you have a pretty good idea on how to weight this stuff together. One thing that seem to bother people is weighting the caps and segmented body parts so they don't tear apart when moving.
The solution to this problem is called the 50/50 method (that's what i call it anyway). So you've got your character almost ready but the caps are giving you a hard time? dont worry the 50/50 is here to save the day!
So what is the 50/50 method?:
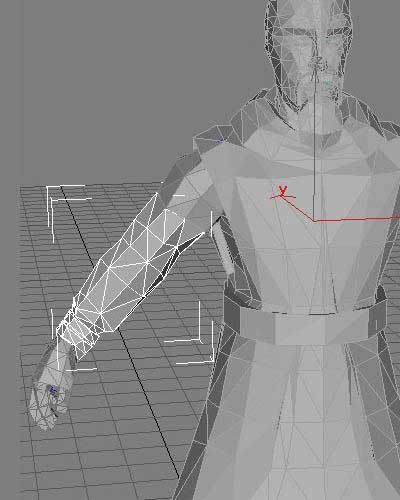
Very simple, it's when you split in half the weight between two bones so they have equal influence over the vertices, preventing tearing of the mesh. For this tutorial, i'll weight the arm/shoulder mesh to the "rhumerus" and "rhumerusX" bones. When you start weighting your character, dont even mind about the caps, you should always weight your body parts first.
The reason you want to start with the body is because the caps will inherit the same weighting as their parent segment. Example, you have only one bone weighted at the shoulder joint, then the shoulder caps will have only one bone. The shoulder has two bones?= the caps also get weighted to these two bones.
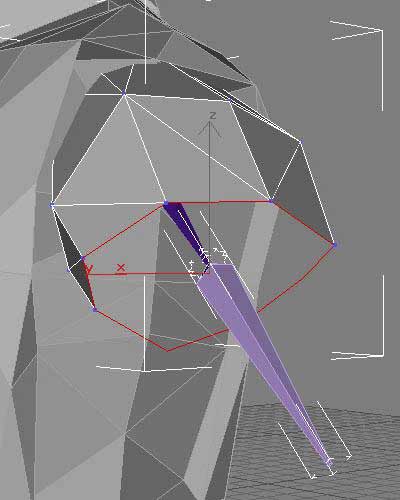
If not done already, you should segment your arm right in-between where the humerus and humerusX bones meet, it's not required to be at that exact spot. If you take a close look at the "bolt_arm_cap" you will see where raven split their mesh, this should give you a pretty good idea on where to segment the model.
Let's get started...
The arm
This is were i split my mesh to receive the caps.
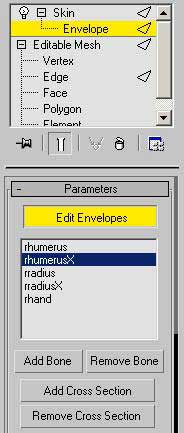
The two bones that are meeting at the joint are "rhumerus" and "rhumerusX", so i add a skin modifier to both of the meshes (r_arm and torso_shoulder) and add the two bones i need to the list.
Before we go any further, i recommend turning off envelopes and cross sections filters...click "edit envelopes", then scroll down the skin modifier's parameters and go to the filters section make sure that only the "vertices" box is checked.
Ok so what does that do? with only vertices activated, you will have to select your vertices manually instead of using the envelopes.
I hate envelopes for the simple fact that i dont have full control on how i want the weights to be distributed...maybe that's not your case.
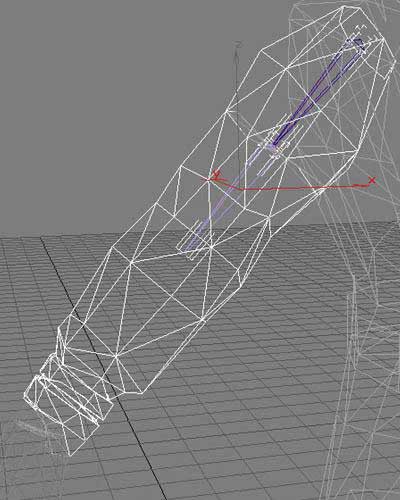
I select the "r_arm" mesh, then go to edit envelopes mode, i select the rhumerus bone and the set of vertices that needs to be weighted.
You can see in red where the arm's gap will be, i select the vertices that make the opening.
Next, in the skin modifier's abs influence box, i type 1.0
I end up with this:
The top vertices are now fully weighted to "rhumerus".
Without deselecting the r_arm mesh or the vertices, i click on the rhumerusX bone...
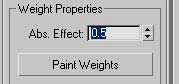
Once again i go to the abs. box, but this time i type 0.5
You can see that the verts are weighted 50/50 between the rhumerus and rhumerusX bone.
The Shoulder
The arm is done, the next step is to weight the open area of the shoulder, the same way i just did with the arm.
I select the shoulder mesh, then go in edit envelopes mode...select rhumerus
Again i select the vertices of the open area of the shoulder...
Once i've got all of them, i type 1.0...
They're fully weighted to the humerus...
Next without deselecting the shoulder mesh or the border vertices, i select the rhumerusX bone...
...and guess what? yep, i type 0.5!
Now the border vertices share 50/50 weights between the two bones.
If i move the bones of the arm around there's no tearing...
The caps will be weighted in the same manner and will deform exactly like the arm.
Hope this little tutorial was clear enough to teach you how to use the skin modifier, as i said earlier, with some trial and error you should get used to this process very quickly. These tips should work fairly well in most situations, but your mesh is not identical to mine, so experiment!
Good luck!
-Psyk0